
Mr. Electric explains how to install low-voltage outdoor lighting for enhanced safety and curb appeal.
|
Are you looking for a way to improve the appearance of your home exterior while reducing energy consumption and improving safety? Low voltage outdoor lighting might be exactly what you need.
Low voltage lighting provides a soft, dramatic light ideal for highlighting key features of your landscape. It also offers a safe outdoor lighting solution for homeowners. But what makes it such a safe, useful home addition?
In this article we’ll explain why this type of lighting reduces risk and how to carry out landscape lighting installation:
Why Low Voltage = Low Risk
With the help of a transformer, low-voltage outdoor lighting reduces your home’s 120-volt electrical supply to a mere 12 volts. This makes it easier to work with and safer for DIY homeowner installations.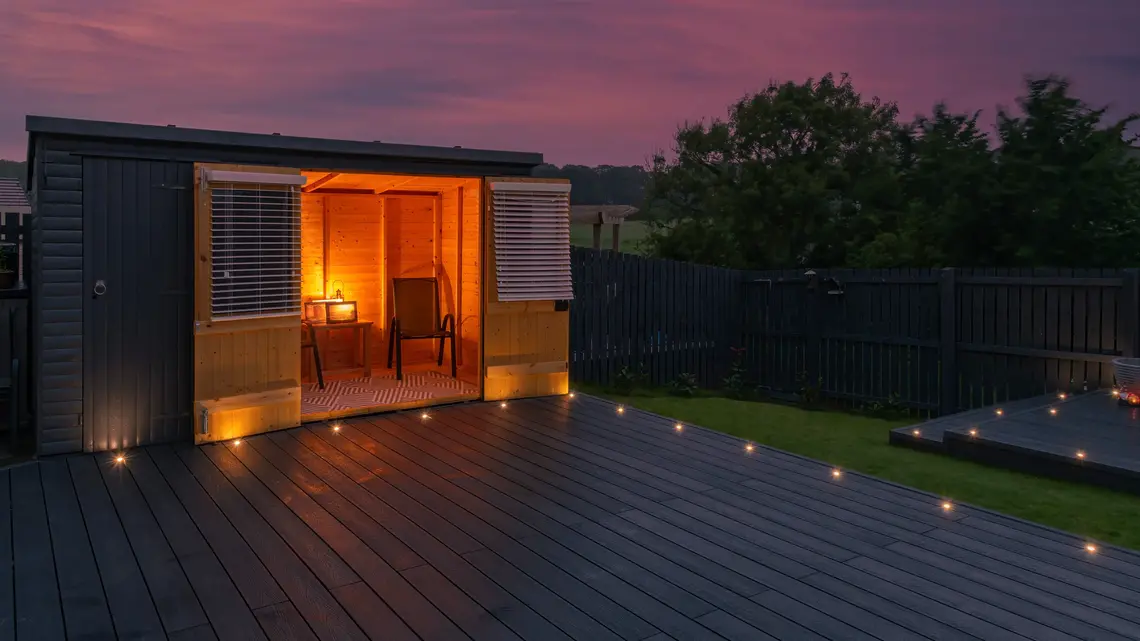
How to Install Low Voltage Outdoor Lighting Step By Step
Time needed: About 3–5 hours (varies based on the unique needs of your location and your familiarity with electrical work)
Materials required: Low voltage lighting, transformer, wall anchors, power drill, shovel, screwdriver, and gloves (recommended)
Low voltage lighting kits are available in a wide variety of styles, sizes, colors, and finishes at your area home improvement store. Look for kits that include lights, 100 feet of low-voltage cable, and a transformer for lowering current flow.
- Safety first — Before installing low voltage lighting, you must have a GFCI outlet where you’ll plug in the transformer. This should be installed outside near where you want the lights. If you do not have a GFCI outlet nearby or wish to install one, we strongly recommend professional help. While you’re at it, you may want to consider other outdoor additions.
- Some assembly required — Put the lights together using the instructions provided by the manufacturer. Once the light has been assembled, attach the stakes, followed by the light bulb, lens, and cover. Lay the wires alongside the lights — but do not attach them yet.
- Lay out the lights — Lay the lights out where you want to install them. (It’s easier to make adjustments now rather than after they are installed). Leave the wire atop the ground, making sure everything is where you want it.
- Secure the transformer — Mount the transformer on the wall near your GFCI outlet, installing it at least one foot above ground level. When mounting to brick surfaces, be sure to use a masonry bit and plastic/lead anchors to ensure a secure installation. If you prefer, stake the transformer into the ground near your chosen GFCI outlet instead, mounting it at least one foot above the ground.
- Dig the trench — Once you’re satisfied with the placement, it’s time to dig the trench for the cable. Low voltage landscape lighting only requires a shallow trench, and can even be left above ground, if preferred, though this may put wiring at risk from lawn equipment and environmental damage. Despite the fact the trench is shallow, call your local utility company before digging. They will mark underground utilities for free, ensuring your safety. After trenching, lay out the lines, but don’t bury them yet.
- Connect the cable — Run the wires from the light assembly through the riser base. Attach the lights to the cable, which has clamps with metal teeth capable of piercing wiring covers to tap the electrical line. After tapping the lights into the wiring, strip the ends of the low-voltage power cable, and connect them to the terminals on the transformer. Turn on the power to check lighting and electrical connections for operation.
- Bury the wire — Make final adjustments later in the evening and bury your cables the following day. This helps ensure that everything is good to go for testing and prevents you from having to perform too much manual labor in the dark.
- Program — Program your lighting, setting the timer for the hours you want the lights on/off.
- Weatherproofing the outlet for the transformer — Apply a plastic “while in-use” cover to the outdoor outlet to protect it from rain and snow, yet still allow ease of access.
- Enjoy — Enjoy your outdoor lights, and admire your handiwork.
As you can tell, there are a lot of steps involved in installing low-voltage outdoor lighting, and it’s not always the best job for beginners. If you’re, confused over how to install low-voltage landscape lighting in your yard, or not great at GFCI installation, the lighting pros at Mr. Electric can help. Contact us today.
This blog is made available by Mr. Electric for educational purposes only to give the reader general information and a general understanding on the specific subject above. The blog should not be used as a substitute for a licensed electrical professional in your state or region. Check with city and state laws before performing any household project.