Flickering lights. Warm outlets. Constantly tripping breakers. These are all signs that something's off, and it's crucial to know when to call an electrician for wiring problems. Electrical issues rarely stay small—what seems like a minor nuisance can turn into a house fire or serious injury. Electrical problems are among the leading causes of residential fires, making electrical home safety a critical priority for every homeowner.
Learn moreMr. Electric Blog
Shared Resources for Your Home Needs

Fireplace Heater Safety Tips
Electric fireplaces are a much less expensive alternative to adding a wood-burning fireplace to your home. Electric models provide a significant amount of heat
All Blogs
Feb 02 2026
Nov 12 2025
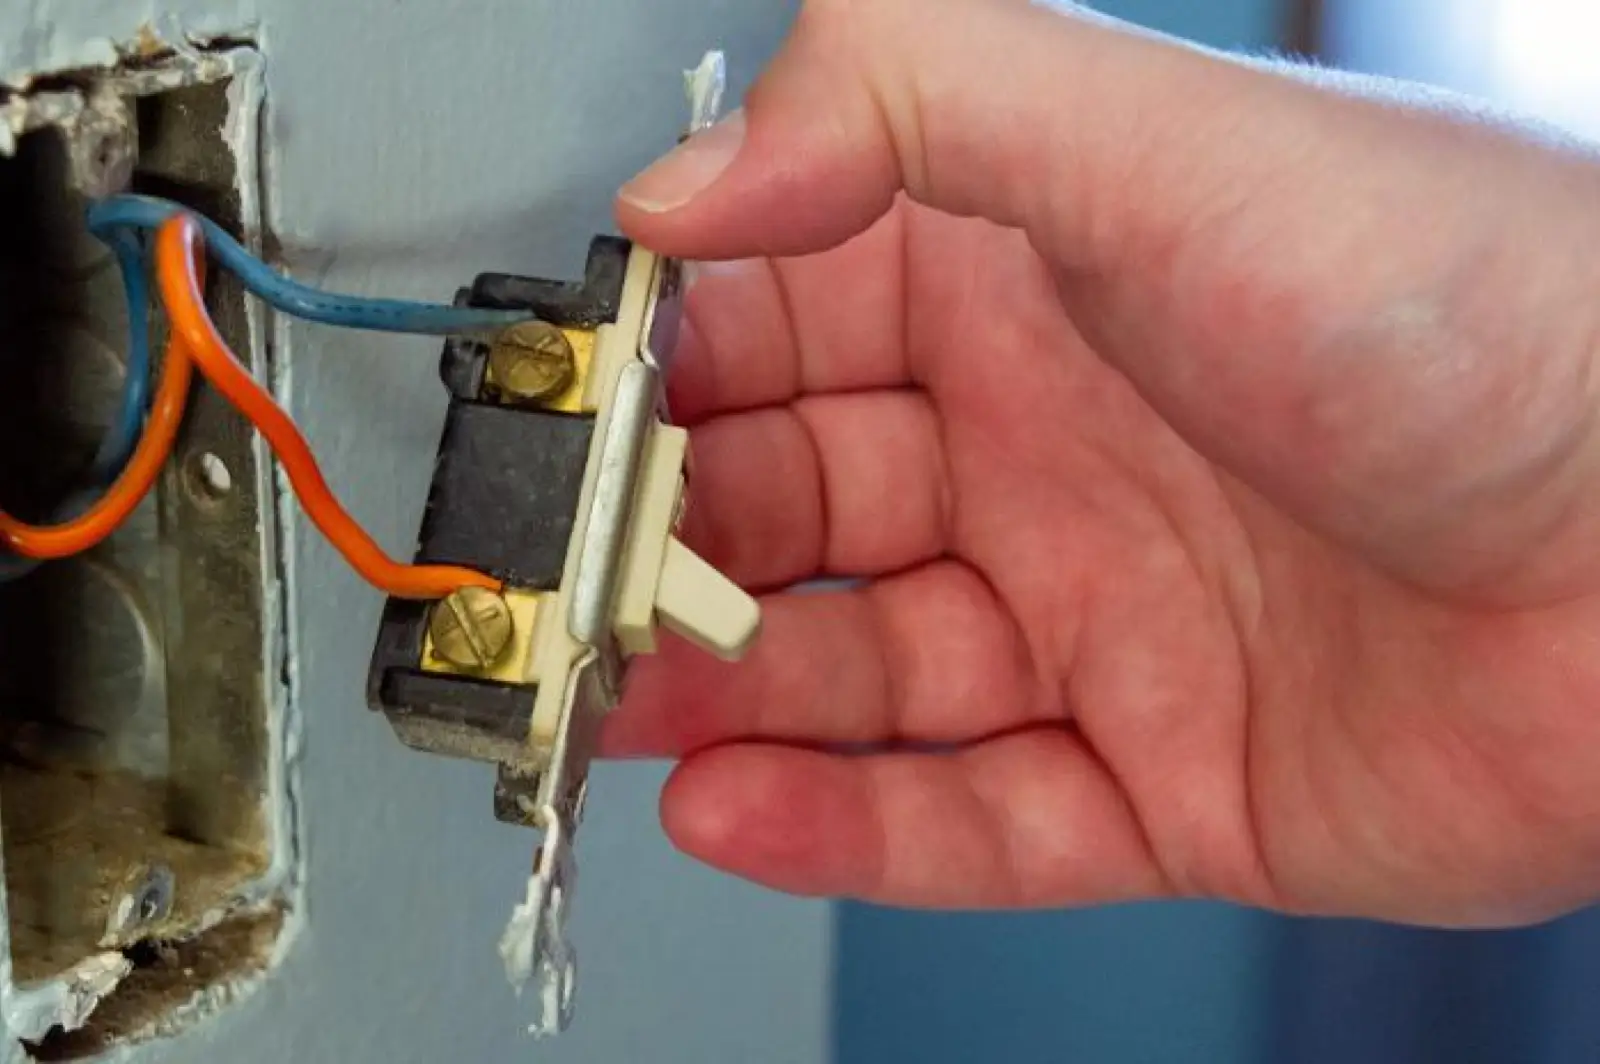
Electricity is a natural phenomenon created from charged particles, static accumulation, or dynamic currents.
Learn more
Oct 14 2025
Overloading an electrical circuit can cause some serious problems. While that may seem obvious, chances are that you’ve caused a circuit overload at least once in your life.
Learn more
Sep 19 2025
Did you know many homes depend on outdated, poorly placed, or improperly maintained smoke alarms? Whether you’re a new homeowne
Learn more
Aug 28 2025
You take the electricity in your home for granted, but if something goes wrong, you need to know how to read and use your electrical panel.
Learn moreBook Online
About Mr. Electric
Established in 1994, Mr. Electric® is a global franchise organization providing electrical installation and repair services. Recognized by Entrepreneur magazine among its “Franchise 500,” Mr. Electric franchisees provide these services to both residential and commercial customers at almost 200 locations worldwide. Mr. Electric is a subsidiary of the Neighborly® family of service franchises.


