Residential building codes require smoke detectors to be in every home. And it's a good thing that they do. Fires can begin quietly and go undetected. Properly installed and connected alarms are essential in alerting you and loved ones in case of a fire.
Smoke detectors only work when they have a continuous electrical charge, whether this is from a battery or from being hardwired into the home's electrical system. And because a fire can happen at any time, it's vital for this electrical charge to remain uninterrupted.
Oftentimes, though, smoke detectors fail due to dead batteries. While it's a best practice to change the batteries in a smoke detector every six months, having one hardwired into the home electrical system ensures you'll never be without a working smoke detector.
In this article, we'll explain what a hardwired smoke detector is, how to replace a hardwired smoke detector, and walk you through the steps for upgrading from battery-operated to hardwired models when your current detectors reach the 10–year replacement mark. For comprehensive smoke detector installation and replacement services, Mr. Electric® is here to help.
What Is a Hardwired Smoke Detector?
When a device or appliance is "hardwired," it means it's directly connected to the home's electrical circuits, not powered by batteries alone.
While a hardwired smoke detector may look just like a battery-powered one once it's mounted to your ceiling or wall, what's happening behind the wall makes a big difference. Hardwired smoke detectors draw continuous power from your electrical system, significantly lowering the risk of power-related failure. And in the event of a blackout or a fire that disrupts your home's power, hardwired smoke detectors are equipped with backup batteries to keep functioning when it matters most.
Why choose a hardwired smoke detector?
Adding hardwired smoke detectors to your system comes with real advantages that go beyond what battery-powered models offer:
Consistent power supply
- No reliance on battery life for primary power.
- Less risk of failure due to dead or missing batteries.
Interconnected alerts
- Many hardwired models are designed to work together; if one detector sounds, all connected alarms go off.
- Ideal for multi-story homes or larger layouts where a single alarm might not be heard everywhere.
Improved reliability in emergencies
- Wired power + backup battery = uninterrupted protection, even during blackouts.
- Especially important in fire events that may compromise your home's wiring.
Fewer false alarms
- Hardwired models are often less prone to false alerts caused by low batteries or inconsistent sensor behavior.
Long-term savings
- While the upfront install is higher, the reduced need for battery changes can cut down on maintenance and replacement costs.
If your current smoke detectors are older than 10 years or only battery-powered, upgrading to hardwired units is a smart way to strengthen your home's safety network. Mr. Electric can handle your smoke detector installation and replacement needs to ensure they’re code-compliant, functional, and ready when you need them most.
When to Replace Your Smoke Detectors: The 10-Year Rule
Most smoke detectors, whether battery-operated or hardwired, should be replaced every 10 years regardless of how well they seem to be working. This isn't just a recommendation—it's a critical safety requirement that many homeowners overlook.
Here's why the 10-year mark matters:
Sensor degradation over time
Even if your smoke detector hasn't shown obvious signs of failure, its internal sensors gradually lose sensitivity. Dust accumulation, temperature fluctuations, and normal wear can compromise detection capabilities, potentially delaying alerts when seconds count.
Technology improvements
Smoke detection technology has advanced significantly in recent years. Newer models offer improved sensitivity, better false alarm prevention, and enhanced features like voice alerts and smart home integration.
Code compliance
Building codes and safety standards evolve, and older detectors may no longer meet current requirements, especially if you're selling your home or completing renovations.
The upgrade opportunity
If you're currently relying on battery-operated smoke detectors that are approaching or past the 10-year mark, this is the perfect time to upgrade to hardwired models. The replacement process allows you to strengthen your home's safety system while ensuring compliance with current codes.
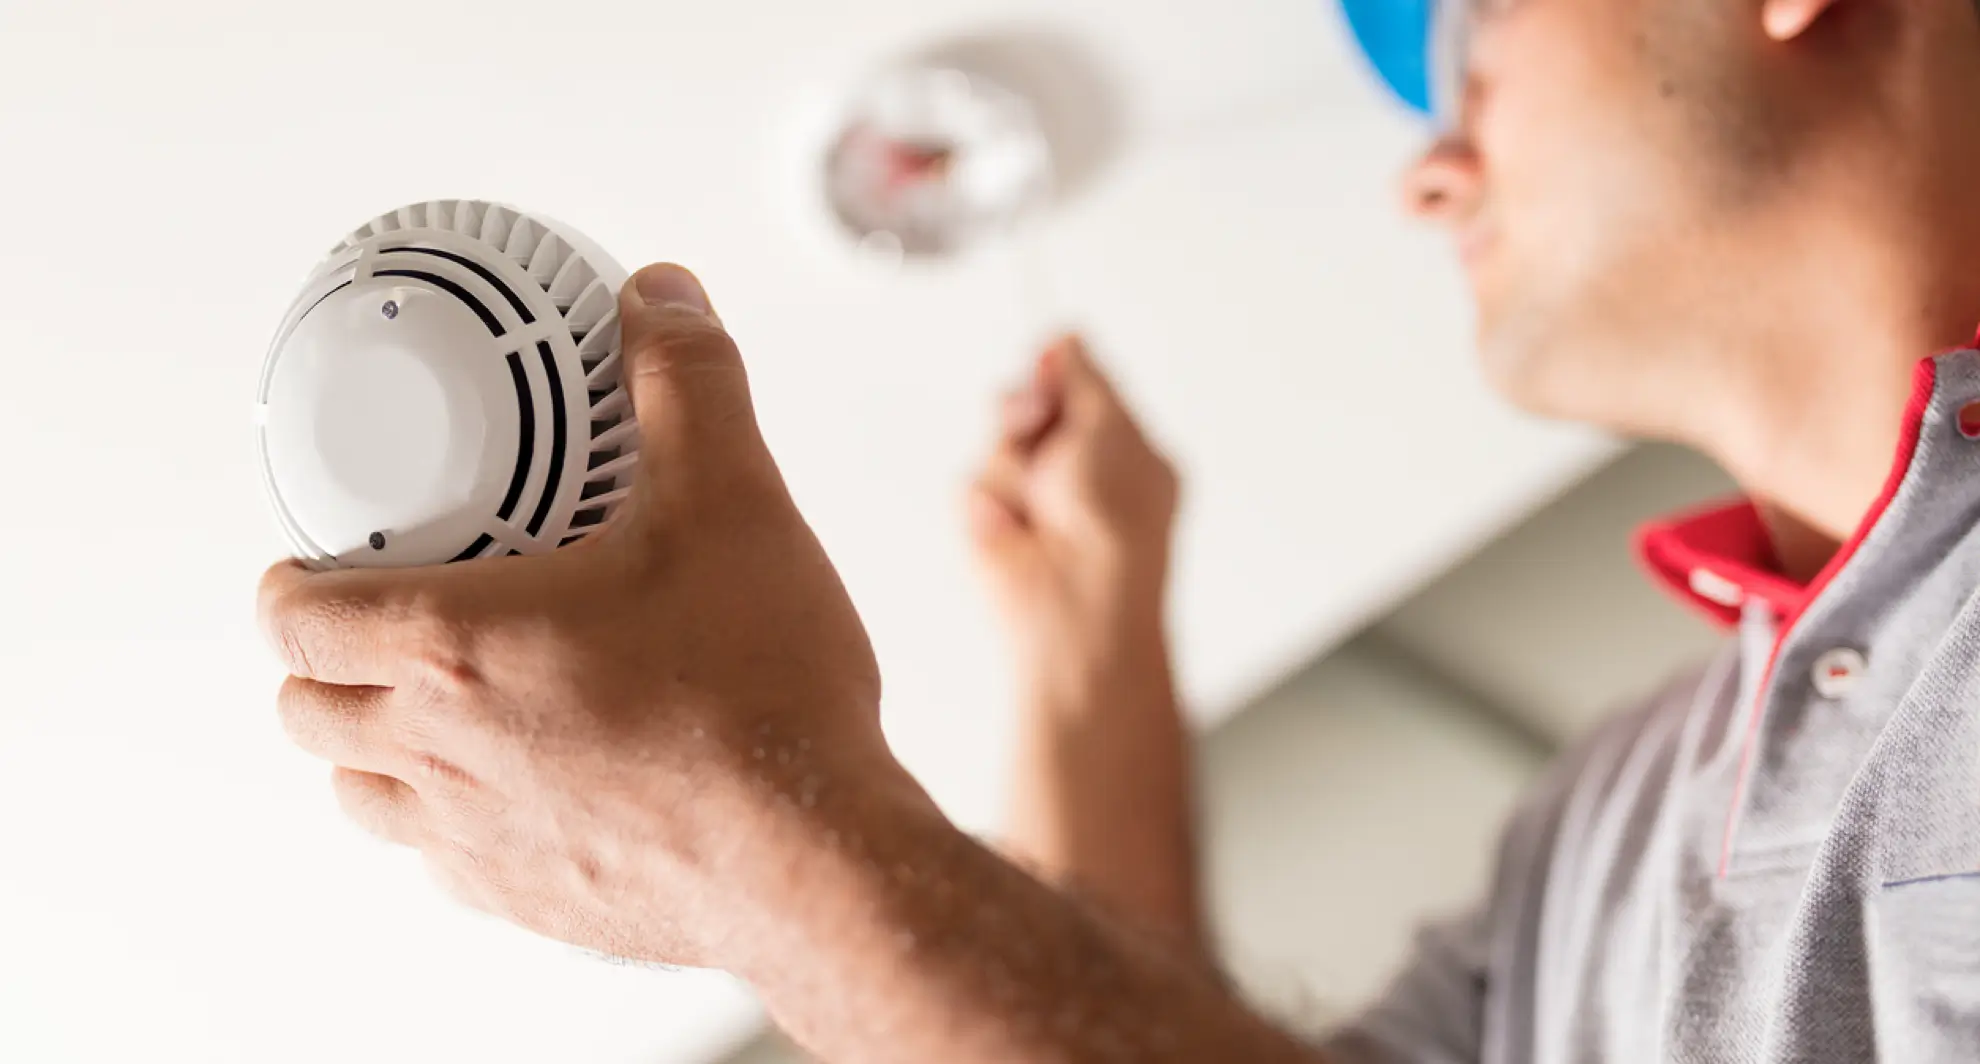
How to Remove and Dispose of Old Smoke Detectors
Before installing new hardwired smoke detectors, you'll need to properly remove and dispose of your existing units. Whether you're replacing old hardwired detectors or removing battery-operated models to upgrade, follow the steps for proper removal and disposal.
Removing battery-operated smoke detectors
Step 1: Test and silence the detector
Before removal, test the detector to ensure you're working with the right unit. Most battery-operated detectors can be silenced by pressing the test button.
Step 2: Twist and remove
Most battery-operated smoke detectors mount to a base plate with a twist-lock mechanism. Rotate the detector counterclockwise to release it from the mounting bracket.
Step 3: Disconnect and remove mounting hardware
Remove the battery and unscrew the mounting bracket from the ceiling or wall. Fill any screw holes with spackling compound if you're relocating the new detector.
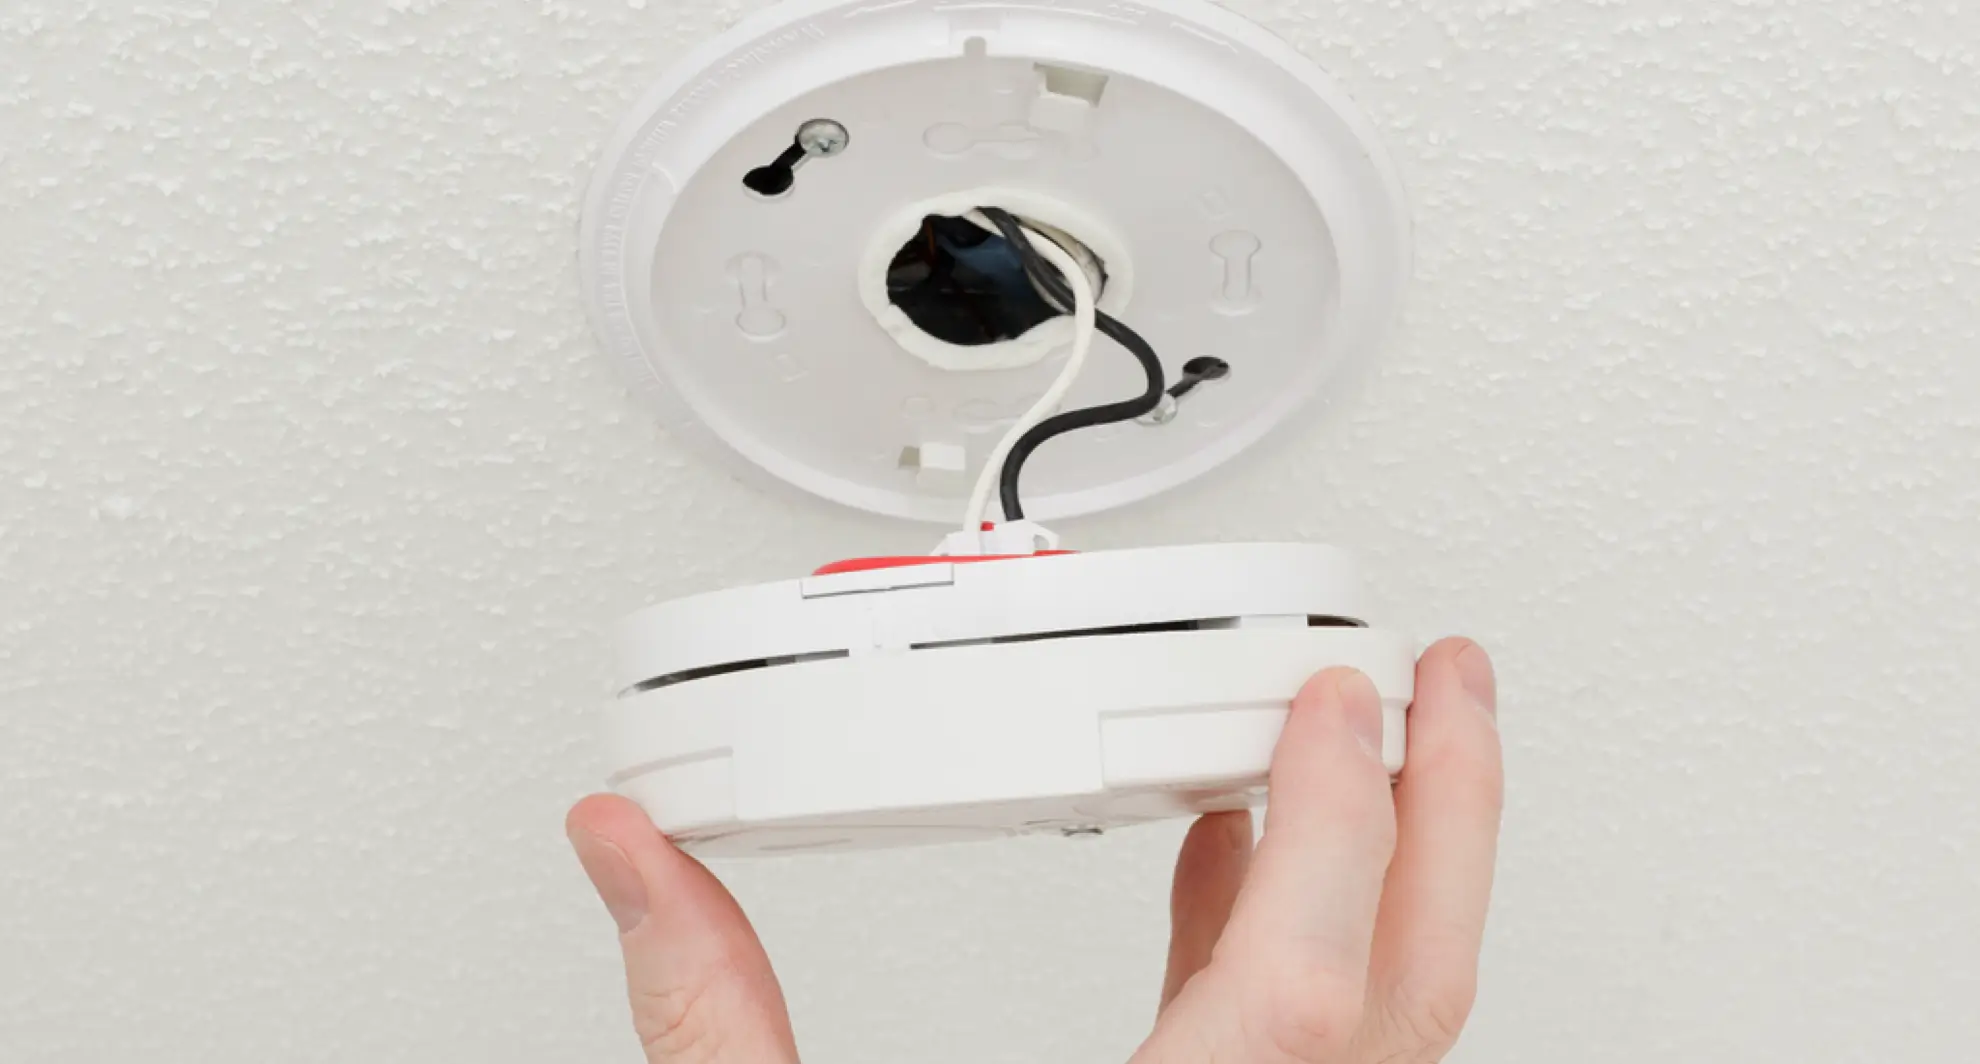
Removing existing hardwired smoke detectors
Step 1: Turn off power at the breaker
Safety first—always turn off power to the circuit feeding the smoke detector before beginning any electrical work.
Step 2: Test for power
Use a non-contact voltage tester to confirm power is off before touching any wires.
Step 3: Disconnect the detector
Twist the detector counterclockwise to remove it from the mounting plate, then carefully disconnect the wiring harness.
Step 4: Remove mounting hardware
Unscrew the mounting plate from the electrical box, leaving the box and wiring in place for the new hardwired detector.
Proper disposal methods
Many municipalities have electronic waste recycling programs that accept smoke detectors. Especially, since some older smoke detectors contain small amounts of radioactive material, look for a radiation symbol on the device. These require special disposal through the manufacturer or hazardous waste facilities—never throw them in regular trash.
Contact your local waste management authority for guidance. In addition to disposing of the actual smoke detector, remove batteries and dispose of them at designated battery recycling locations. Many retail stores and community centers have battery drop-off points.
Lastly, document the replacement. Keep records of when you replaced your detectors, including model numbers and installation dates. This helps track the 10-year replacement cycle and can be valuable for insurance or home sale purposes.
Why Proper Installation Matters
Smoke detectors don't get a second chance to do their job. That's why proper installation is just as important as choosing the right model.
With hardwired smoke detector installation, you're working directly with your home's electrical system. That means there's more at stake than just getting wires in the right place. To work reliably, hardwired smoke detectors need to be installed in the correct locations, interconnected if required, and backed up with battery power, all while meeting current electrical code standards.
Here's why professional installation makes a difference:
- Code compliance: Smoke detectors are subject to local and national electrical codes, which can vary by region and even by home age. An electrician will know the latest requirements and ensure your installation is up to standard.
- Correct wiring and placement: Knowing how to hardwire smoke detectors isn't just about making connections. It's about placing each detector in the right spot to maximize coverage and response time.
- Interconnection done right: Hardwired systems often include interconnected units, so that when one alarm is triggered, they all go off. That setup requires specific wiring, compatible models, and a clean install.
- Safety and testing: Once installed, every detector should be tested for voltage, responsiveness, and backup battery function. A trained service professional will make sure nothing is overlooked.
If you're replacing hardwired smoke detectors or upgrading from battery-operated models, hiring an electrician ensures the job is done safely, cleanly, and correctly. Your local Mr. Electric will handle the install from start to finish, so your home is protected, code-compliant, and ready to alert you at the first sign of smoke.
How to Hardwire Smoke Detectors
Installing a smoke detector may seem straightforward, but hardwired smoke detector installation involves more than mounting a device and flipping a breaker. From cutting precise openings to running wire across multiple units, there's a method behind every move an electrician makes. Here's a look at the professional steps taken to ensure everything is safely wired, code-compliant, and fully operational.
Step 1: Turn off the power
We determine which existing circuit the smoke detectors will be wired into and turn off the power supply to that circuit.
Step 2: Cut the holes
Using a stud finder, we locate the ceiling joist or wall stud to determine smoke detector placement. We use the electrical box as a template to trace around, so the hole will be cut precisely in-between the wall studs.
After determining the install location, we drill a pilot hole in the middle of the outline for the electrical box, and then cut around the template outline. The electrical box should be a snug fit, but not too tight. If more than one smoke detector is being wired, we will repeat this process for each unit.
Step 3: Run the wire
Starting from the power source, we run wire (with ground) to the location of the smoke detector. The power source can include an existing wall outlet, wall switch, or circuit breaker panel. A good amount of excess cable will be left extending through the hole in the drywall. This ultimately makes installation easier, and we will trim the wire to the proper length when installing the detector.
If multiple smoke detectors are being installed, we will run a 3-wire cable (with ground) from the first smoke detector to each subsequent smoke detector. The extra wire allows the smoke detectors to communicate with one another so that if one smoke detector detects smoke, all detectors will go off.
Step 4: Attach the wires to the electrical boxes
At each box location, about eight inches of wire will extend from the hole. We remove the insulating wrap from the wire using a cable stripper. The wires will then be run and clamped to the electrical boxes.
Step 5: Secure the electrical boxes
Once the cables have been secured to each box, it's time to secure the electrical box in the opening of the drywall.
At each smoke detector location, we feed the circuit wires through the detector's mounting plate and align the screw holes on the mounting plate to the hole in the electrical box. Using the screws that came with the smoke detector, we secure the smoke detector in place.
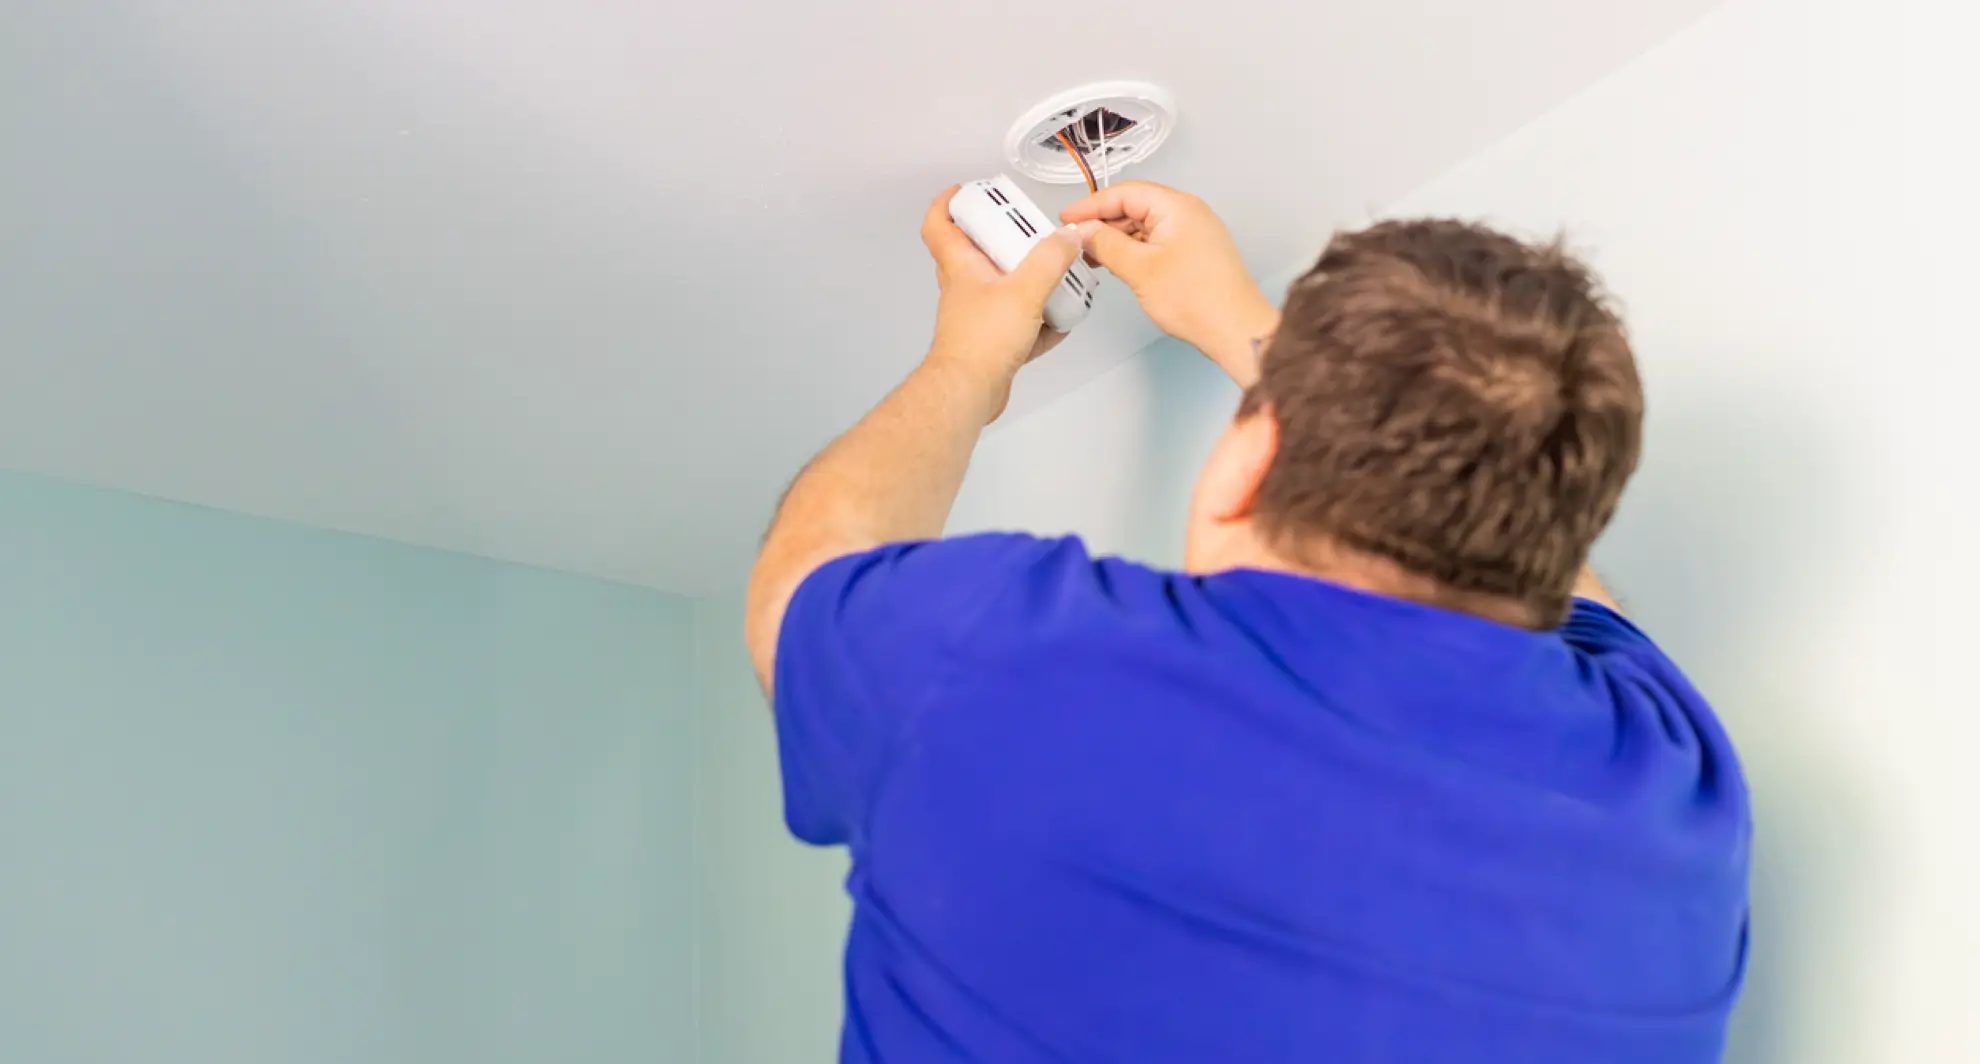
Step 6: Wire the smoke detector
The smoke detector has two parts: the alarm itself and the harness (with wires coming out of it that plug into the alarm after the wires have been connected). We connect the wiring harness with the black, white, and red wires coming through the nearest electrical box.
Step 7: Put it all together
Once the smoke detectors have been wired, we attach the mounting plate to the electrical box with screws. Then, the wire harness is attached to the back of the smoke alarm. The notches on the back of the alarm align with those on the base, and with a quick twist, the unit is ready to go.
Step 8: Connect to the circuit
Finally, we pigtail the wires into the circuit and join the smoke detector cable to the circuit. With the wires joined, it's time to restore power to the circuit and go through the setup steps for your new hardwired smoke alarms.
Planning Your Upgrade from Battery to Hardwired
If you're currently using battery-operated smoke detectors and want to upgrade to hardwired models, the process requires more planning than a simple replacement. Here's what's involved in making the switch:
Electrical assessment
Before installation can begin, an electrician will assess your home's electrical system to determine the best approach for adding hardwired detectors. This includes:
- Circuit capacity: Determining if existing circuits can handle additional smoke detectors or if new circuits are needed.
- Wiring routes: Planning how to run wiring to each detector location with minimal disruption to walls and ceilings.
- Code compliance: Ensuring the planned installation meets current electrical codes for your area.
Installation considerations
- New wiring requirements Unlike battery-operated detectors that simply mount to existing hardware, hardwired units require electrical boxes and proper wiring to each location.
- Interconnection planning If you want interconnected alarms (recommended for multi-level homes), the electrician will plan the wiring to link all detectors together.
- Backup battery integration Even hardwired detectors need backup batteries. The electrician will ensure easy access for future battery replacements.
Timeline and disruption
Upgrading to hardwired detectors typically requires:
- 1-2 days for most homes, depending on the number of detectors and complexity of wiring routes
- Some wall/ceiling access may be needed to run wires, though electricians minimize damage
- Temporary detector coverage during installation to maintain safety
- The investment pays off: While upgrading from battery to hardwired detectors requires more upfront work, you'll benefit from increased reliability, interconnected protection, and compliance with current safety standards.
Count on Mr. Electric for Smoke and Carbon Monoxide Alarm Installation
As you can tell, installing hardwired smoke detectors can get technical quickly. Mr. Electric service professionals are happy to help! We're available to install your hardwired smoke alarm and carbon monoxide alarm system for you. We would also love to discuss the option of using smart smoke detectors, to keep you connected and your home protected at all times—even when you're not home. You know you'll be happy with our work, thanks to the Neighborly Done Right Promise®. Give us a call or request an appointment online today.
This article is intended for general guidance only and is not applicable to every situation. You are responsible for determining the proper course of action for your property and situation. Mr. Electric is not responsible for any damages that occur as a result of advice and/or guidance derived from its blog content.
Some Mr. Electric services vary by location. Contact your local Mr. Electric franchise for more information.
FAQs About Hardwired Smoke Detector Installation
The safety of you, your family, and home are the top priority of every Mr. Electric service professional. Our safety-first commitment to solving your electrical issues includes a meticulous attention to detail on every job. Our commitment also includes using our years of experience to answer your questions. Below are answers to some of the most frequently asked questions about hardwired smoke detector installation.
How do I know when to replace a hardwired smoke detector?
Most hardwired smoke detectors should be replaced every 10 years, even if they still appear to function. Over time, their internal sensors can lose sensitivity. Even if you don't notice false alarms, inconsistent behavior, or a lack of response during tests at the 10-year mark, it's time for a new unit.
Can I replace my own hardwired smoke detector?
Technically, yes, but it's not always recommended. Replacing hardwired smoke detectors involves working with your home's electrical system and may require circuit testing, proper grounding, and adherence to local code. An electrician will ensure it's done safely and correctly the first time.
Do all the smoke detectors in my house need to be the same brand?
Not necessarily, but if you're interconnecting multiple units, it's best to use detectors from the same brand and series. Some brands use proprietary communication protocols, and mixing models may prevent alarms from syncing properly when one is triggered.
Are smart smoke detectors worth it?
Yes, especially if you want mobile alerts, voice alerts, and integrations with smart home systems. Smart detectors can notify you via app when smoke is detected or when batteries are low, even if you're away from home. If you're considering an upgrade, an electrician can help determine if your current wiring supports smart detectors.
What should I do with my old smoke detectors?
Proper disposal depends on the type of detector. Most can be recycled through electronic waste programs, but older ionization detectors containing radioactive material require special disposal. Always remove batteries separately and recycle them at designated drop-off locations.
How much does it cost to upgrade from battery to hardwired smoke detectors?
Costs vary based on your home's layout and existing wiring, but the investment typically pays for itself in reliability and safety. Contact your local Mr. Electric for a detailed estimate based on your specific needs and local code requirements.