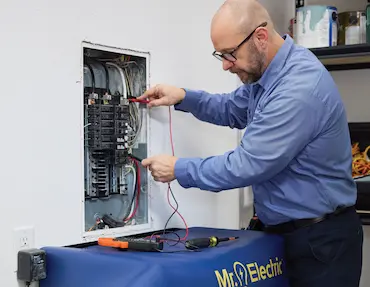
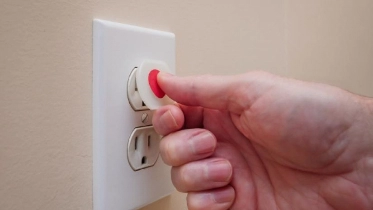
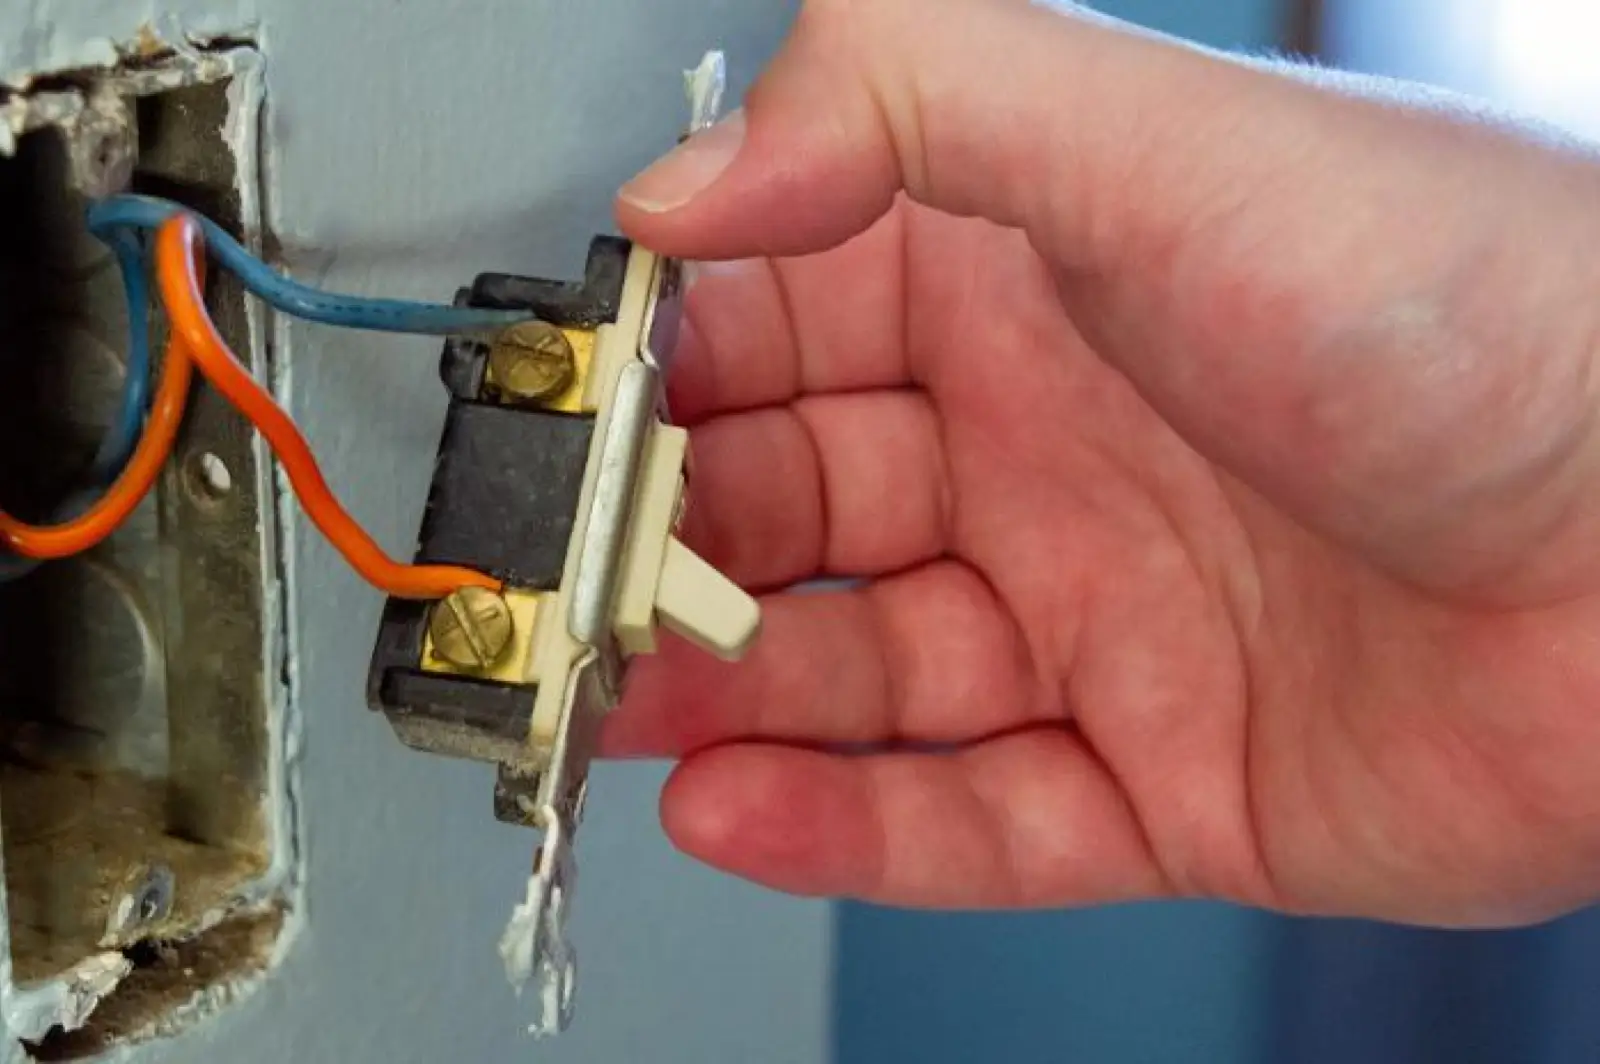
Skip to Main Content Skip to Footer Content

Mr. Electric Blog

DIY Projects

How to Install a USB Outlet | Mr. Electric

USB Outlet.

Knowing how to install a USB outlet is becoming a popular skill as phones and other devices are increasingly dependent on USB chargers. For enhanced convenience, many homeowners are making the shift from regular wall outlets to outlets that have USB chargers.

In this blog, you’ll get a clearer understanding of the benefits of upgrading your outlets to have a USB port. Keep reading for step-by-step directions straight from the experts at Mr. Electric regarding how to install a USB wall outlet as we cover:

Benefits of Installing a USB Outlet

Anything you can do to reduce the number of items needed for everyday processes like charging your phone can help you be more productive. Additionally, installing an outlet with a USB can increase the overall amount of outlet space you have available in your home. It may seem silly, but the truth is something as simple as a USB wall outlet can make your life easier. Here’s how:

  • No more bulky chargers taking up all the wall outlets
  • Tidy appearance for wall outlets
  • Charge and use your device simultaneously
  • Charge faster than traditional USB outlets found in desktops or laptops

Do USB Outlets Draw Power When Not in Use?

When you leave a phone charger plugged into the wall, it draws a small amount power constantly. This is called phantom energy draw. Many people considering installing USB outlets are concerned about the phantom energy these devices may draw. However, unlike chargers that utilize electricity when plugged in but not in use, USB outlets do not use electricity unless they are powering a device.

In order for a USB outlet to draw power, it needs to have a USB plug inserted into it. So, leaving the cord plugged in will cause phantom energy draw. Fortunately, these outlets are less likely to cause phantom energy draw since they do not need a block plugged into an outlet in order to create a USB slot.

How to Install a USB Outlet in 11 Steps

Time required: About 30 minutes to 1 hour

Materials needed: New USB outlet wall receptacle and cover, voltage tester, wire cutters, Phillips and flat head screwdrivers, needle-nose pliers, and cordless drill

Important Safety Note: It’s absolutely necessary to turn off the power to the outlet before you begin working. Do not take the first step until you ensure the appropriate circuit breaker is off by testing it with a voltage tester.

Once you have all of the needed tools for the project and are sure the power to the outlet is off, you can follow these steps for installing the USB wall outlet:

  1. Choose your location.
    Once you have chosen a spot, remove the faceplate to determine if the junction box is adequately sized for the new outlet before continuing. While you may be tempted to install USB outlets in every room in your home, you may be limited by the size of the junction box in your desired locations. Due to the additional wiring and electronics needed to accommodate the USB ports, these outlets require approximately three inches of depth for installation.
  1. Select your new outlet(s).
    Choose a USB outlet that is manufactured by a reputable brand and conforms to regulatory safety standards. Select a color and configuration that suits your needs and preferences, and a faceplate that coordinates with the size and color of your new outlet.
  1. Power down.
    Head to the main electrical panel in your home and turn off the breaker to the room that you will be working in, or for added safety, turn off the electricity to the entire house.
  1. Test the socket.
    The key to your safety during USB outlet installation is ensuring that the power to the receptacle is off. Invest in a voltage tester, which is an inexpensive handheld tool that you can use to test the socket before you begin working to see if the wires are live.
  1. Remove the old outlet.
    Once you are certain there is no power to the outlet, remove the faceplate and the screws that hold the old outlet in place.
  1. Take a picture.
    Snap a photo of the existing wiring for ease of reference during the installation of your new USB outlet. In any standard outlet you will see the following wires:
    • Copper - Ground
    • Black - Hot
    • White - Neutral
  1. Disconnect the wiring.
    Use your screwdriver to disconnect the wires from the old outlet, or if the wires are secured with quick release clamps rather than screws, use a small screwdriver or another appropriately sized tool to engage the release button.
  1. Connect the new outlet.
    To install the new USB outlet, securely connect the wires to the designated terminals.
  1. Secure the outlet and faceplate.
    Attach the new outlet to the junction box using the same hardware from the old outlet and complete the installation with the addition of a new faceplate.
  1. Restore power.
    Return to the electrical panel and turn the power back on and use the voltage tester to verify that the outlet is operational.
  1. Test the outlet.
    Connect one of your USB-powered devices to the new outlet to test it, as well as a small appliance or lamp.

Turn to Mr. Electric for Expert Assistance

If you are ready to upgrade your outlets, but aren’t interesting in handling the process yourself, reach out to your local electricians at Mr. Electric for the services you need. Connect with them online now to schedule an appointment or call to speak to one of their friendly team members.

Book an Appointment

About Mr. Electric

Established in 1994, Mr. Electric® is a global franchise organization providing electrical installation and repair services. Recognized by Entrepreneur magazine among its “Franchise 500,” Mr. Electric franchisees provide these services to both residential and commercial customers at almost 200 locations worldwide. Mr. Electric is a subsidiary of the Neighborly® family of service franchises.
Learn More

Our Special Offers

Just mention the coupon below when scheduling your appointment, and we will check your home’s electrical system for signs of deterioration. It’s one more way we demonstrate our commitment to our clients’ safety and happiness.

  • $25 Off

    Any Electrical Service

    Services vary by location. Services performed by independently owned and operated franchises. New Customers only. Limited time offer. Valid for new and existing tenants and homeowners. No cash value. Not valid for diagnostic fees. Coupon expires 12/31/2024. Coupon must be presented at time of estimate. Not valid with any other offer and/or discounts. Valid only at participating locations. Locally owned and independently operated franchise companies. Other restrictions may apply. ©2023 Dwyer Franchising LLC. 1010 N. University Parks Dr., Waco, TX 76707.

    For additional terms, visit: neighborly.com/terms-of-use.

    Expires: 12/31/2024 Thunderbolt watermark.
    Claim Offer
  • Complimentary Home Electrical Safety Check

    Services vary by location. Services performed by independently owned and operated franchises. New Customers only. Limited time offer. Valid for new and existing tenants and homeowners. No cash value. Not valid for diagnostic fees. Coupon expires 12/31/2024. Coupon must be presented at time of estimate. Not valid with any other offer and/or discounts. Valid only at participating locations. Locally owned and independently operated franchise companies. Other restrictions may apply. ©2023 Dwyer Franchising LLC. 1010 N. University Parks Dr., Waco, TX 76707.

    For additional terms, visit: neighborly.com/terms-of-use.

    Expires: 12/31/2024 Thunderbolt watermark.
    Claim Offer

Find Your Local Mr.Electric!

Let us know how we can help you today.

Call us at (844) 866-1367
image-alt