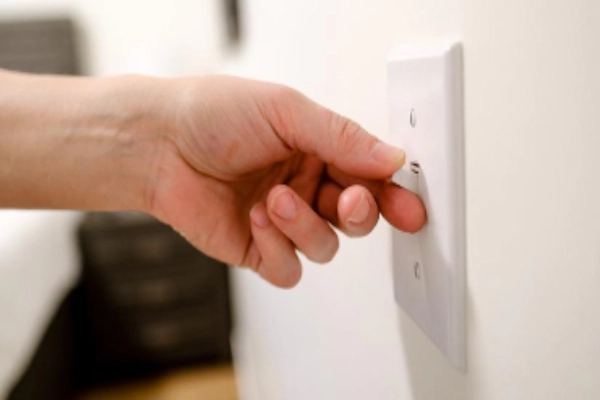
If your light switch crackles, Mr. Electric explains how to address this electrical issue safely.
|
Snapping, crackling, and popping sounds are great if they are coming from your breakfast cereal, but not when they’re coming from your light switch. If your light switch makes crackling sounds when turned on or if you hear a loud pop from the light switch, it’s probably time to replace the switch.
Keep reading to learn what to do when a light switch makes a crackling or popping sound when turned on.
How Does a Standard Light Switch Work?
Electricity powers lights and other devices through a continual flow of current. A light switch has two terminals. When the toggle is in the “on” position, the power supply wire (black wire) connects the two terminals, allowing electricity to flow through to the light. Turning the light off is simply a matter of interrupting the flow. When the switch toggle is flipped to the “off” position, it opens the connection between the terminals, stopping the flow.
Why Does My Light Switch Make Crackling Sounds When It’s Turned On?
The flow of electricity always creates heat, but the heat is contained within the insulated wires. Electricity that escapes the wiring can cause heat to build up quickly, creating a serious fire hazard. Loose or faulty connections anywhere within an electrical circuit can lead to arcing as the current attempts to jump gaps.
Light switches get tons of use, so it’s no wonder that sometimes components within the switch may wear down or malfunction over time. If the switch no longer makes good contact between the two terminals when the light is turned on, the power flows intermittently. The current may arc, which creates the crackling or hissing sound you hear. If you hear these sounds or if you hear a loud pop from the light switch, it’s time to replace the switch.
How to Replace a Grounded Light Switch
Replacing a light switch is not overly complicated, but if you are not familiar with these types of repairs, it’s best to leave it to a professional. If you’re comfortable replacing the switch yourself, follow these steps:
- Before doing any type of electrical work, always turn off power to the circuit at the breaker box. Use a multimeter or non-contact voltage tester at the switch to verify that the power is off.
- Use a screwdriver to remove the switch plate.
- Remove the screws that attach the switch to the wall. Gently pull the switch out and inspect the wiring.
- Older switches will have wires that loop around the terminal screws on the side of the switch. Free the wires by loosening the screws, if this is the case.
- Newer switches, known as “back-wired” or “push-in” switches, have wires that attach through holes in the back of the switch rather than the terminal screws. To remove these wires, insert the flat blade of a small screwdriver into the slots beneath the holes (where the wires enter the housing) while gently pulling the wires loose.
Note: If wires are not color-coded, be sure to keep track of which wire goes where. Attach temporary labels, if necessary. - The “hot” wire (usually black or red) attaches to the brass screw or enters the hole on the same side as the brass screw.
- The neutral wire (white) attaches to the silver screw or enters the corresponding hole.
- The ground wire (green or bare copper) may be attached to the green terminal screw on the switch or it may be attached directly to a screw on the electrical box. If it’s attached to the switch, unscrew it.
- You’ll need about a half-inch of exposed wire on both the hot and neutral wires. Use a wire stripper, if necessary, to remove wire casing from the ends.
- Pay attention to the on/off labels on the new switch to ensure proper orientation. Attach the hot wire to the new switch by twisting the exposed wire into a clockwise loop around the brass screw and tightening the screw. (The tip of the wire should be pointing away from the room.) If you are installing a back-wired switch, simply insert the wire through the appropriate hole (the one on the same side as the brass screw.)
- Follow the previous step to attach the neutral wire to the new switch, attaching to the silver screw, or guiding through the appropriate hole if you have a back-wired switch. If the ground wire is not connected to the electrical box, connect it to the green screw in the switch.
- Once wiring is complete, place switch back into the electrical box and replace screws to secure the box to the wall.
- Restore power to the circuit to test the switch. If it is working correctly, re-attach the switch plate.
Get Help from an Expert
Electricity is a powerful force, and electrical work requires precision to avoid creating unsafe situations or fire hazards. Although changing a light switch is a fairly simple procedure, any time you are dealing with electricity, it’s best to let an expert handle the job. Mr. Electric® is happy to help you install new light switches or outlets, inspect wiring, and upgrade outdated or faulty electrical components. To connect with your local Mr. Electric, you can schedule service online or call.
